How to use Tether to setup your TP-Link Router
This FAQ will walk you through the steps to set up your TP-Link Router using the Tether App. Tether is only available on iOS and Android devices. Before you begin, please download the app on your mobile device. To see if your router is compatible with Tether, please click here.
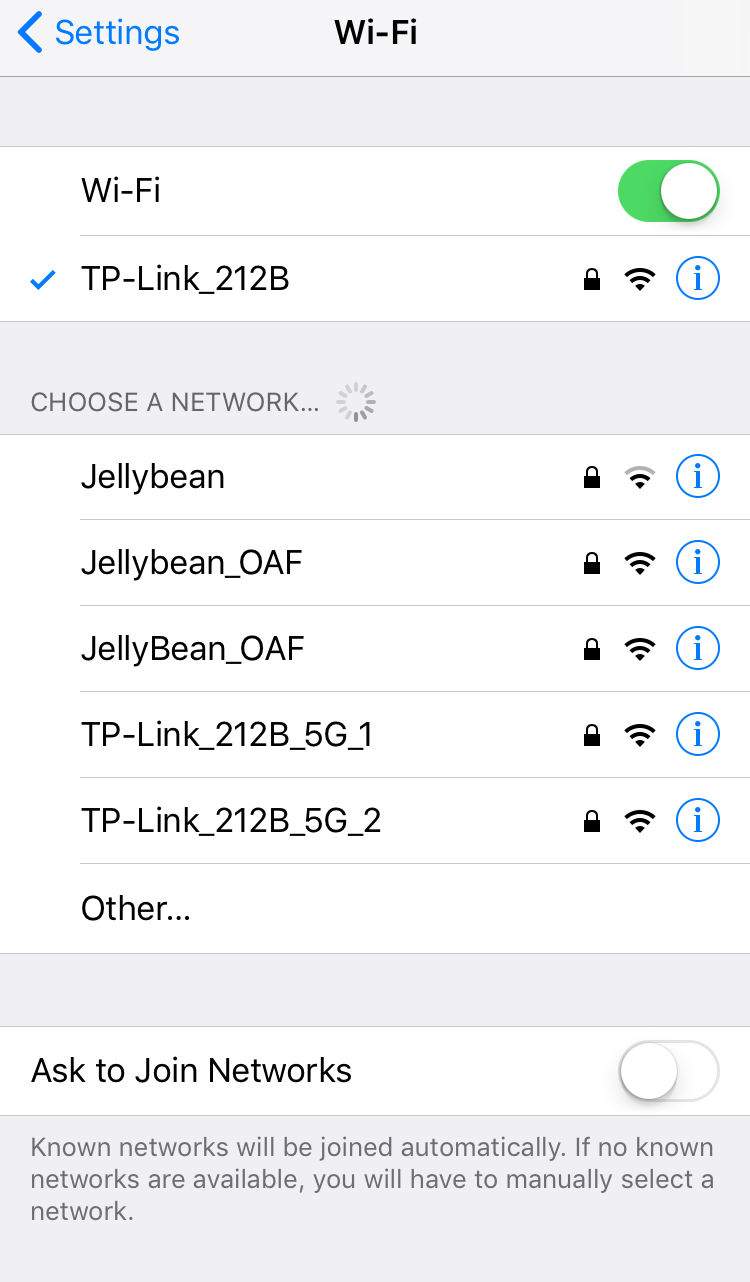
Step 1: Go to your smartphone’s wireless settings and connect to your router’s wireless network.
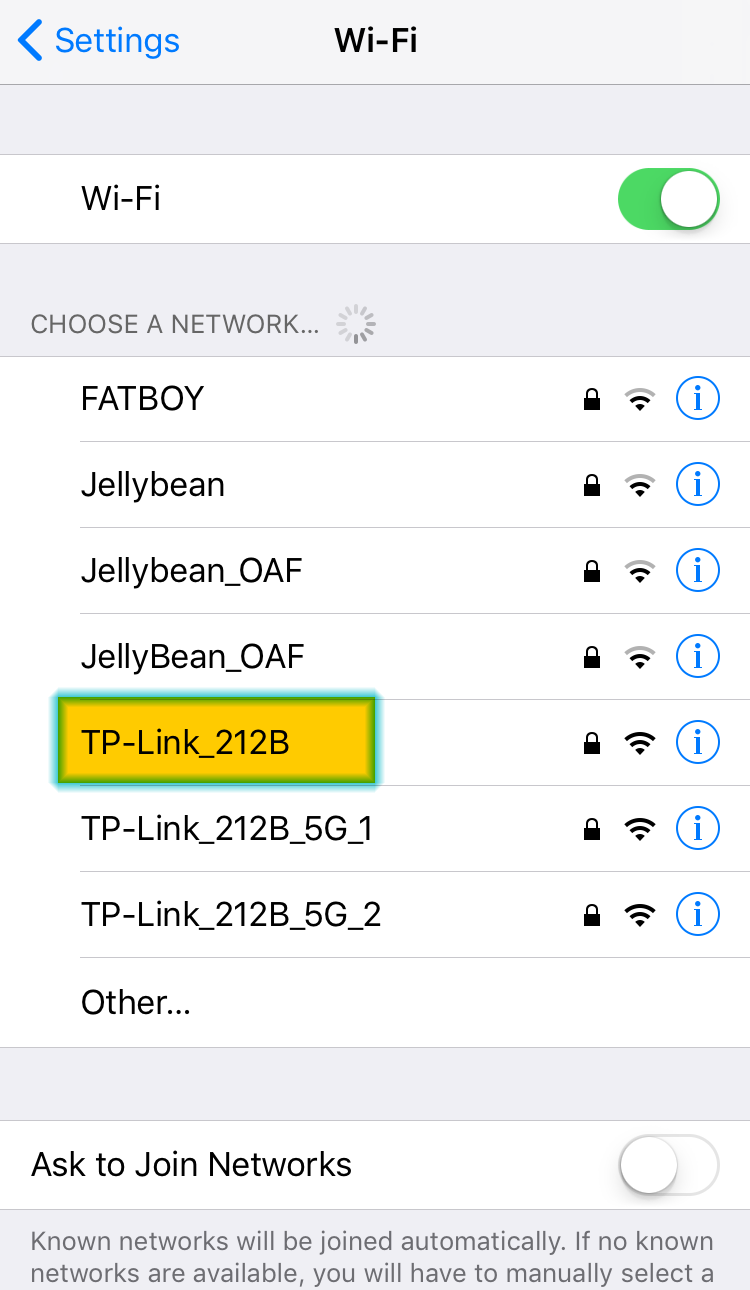
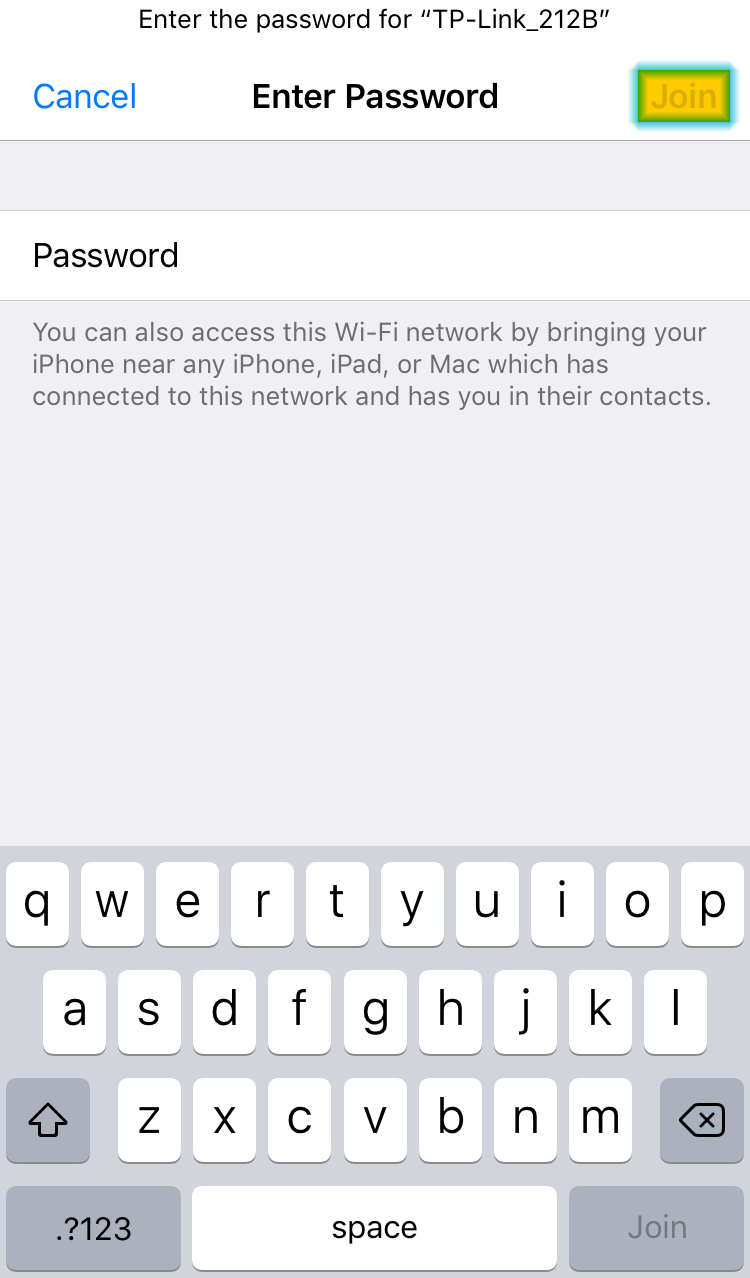
*Note: Your router’s default network name and password are printed on the label located on the bottom or back of your router.
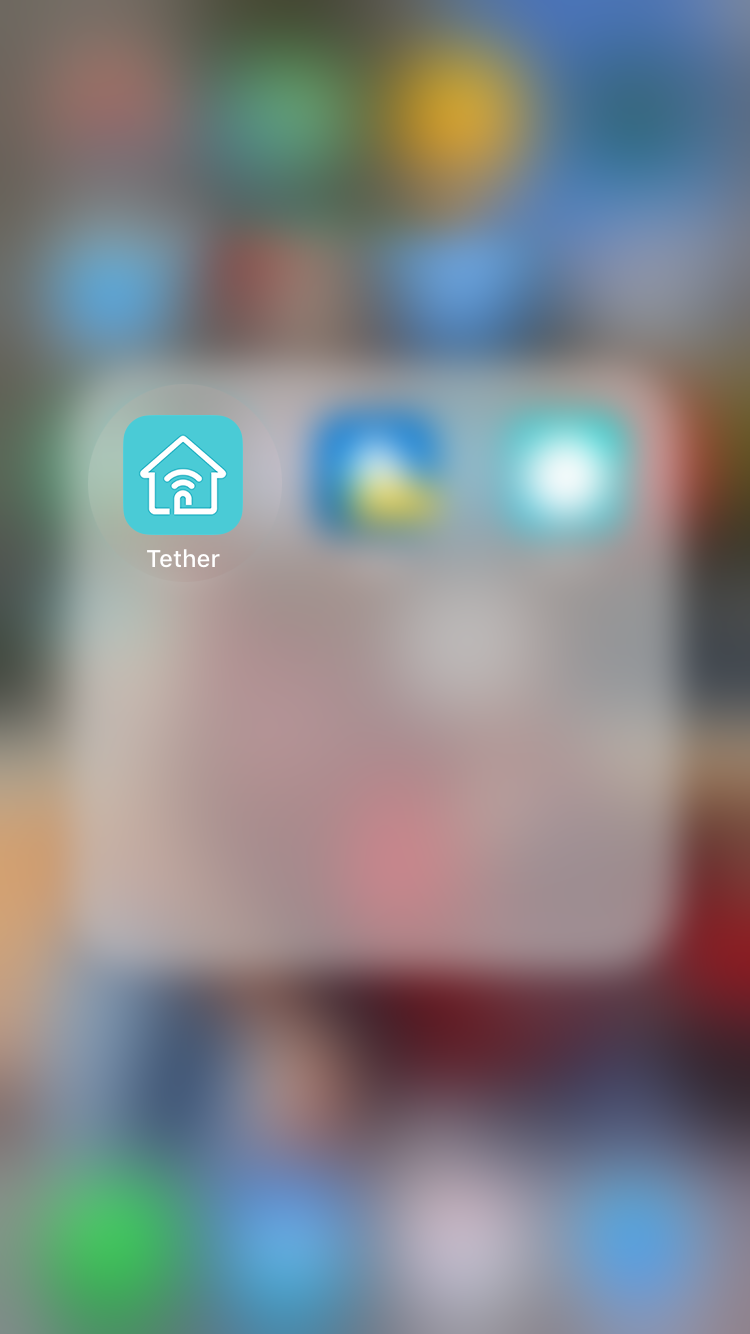
Step 2: Open the Tether App.
Step 3: Tap on your router Icon under Local Devices.
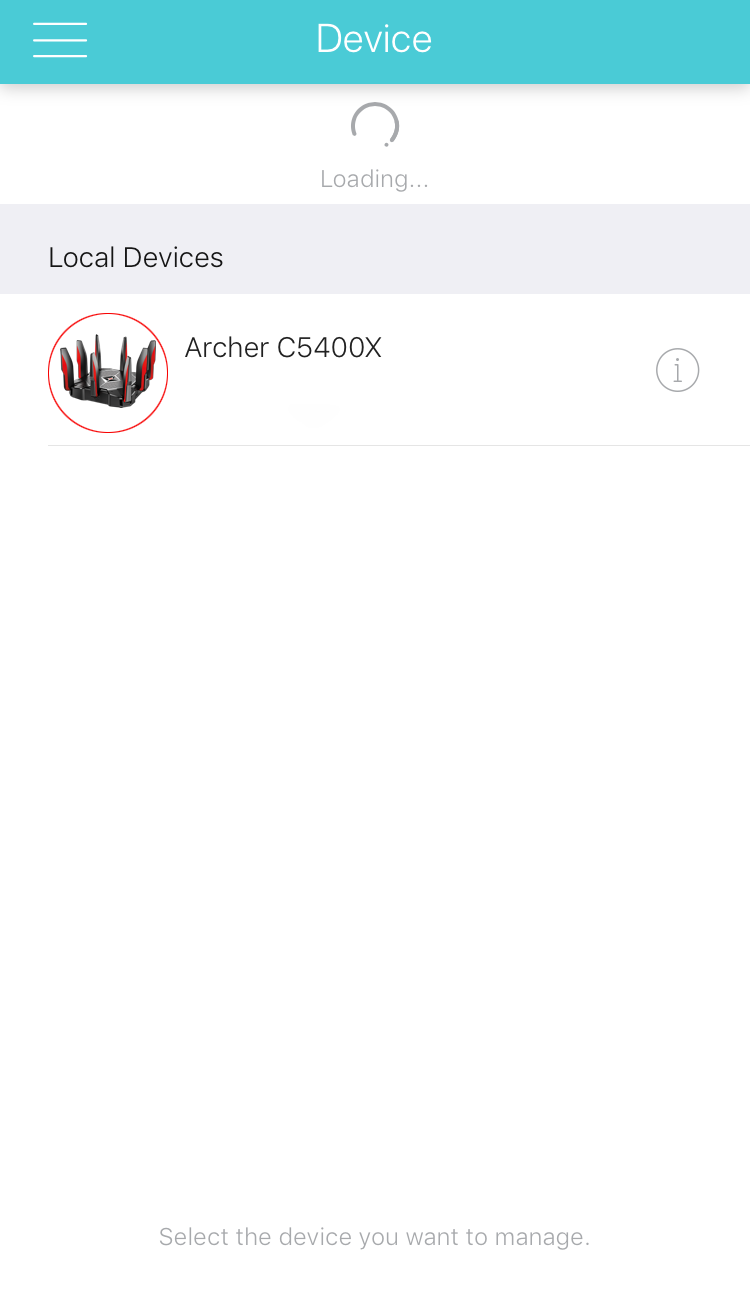
*Note: The image displayed will depend on the router you are connecting to.
Step 4: You may be prompted to log in or change the password.
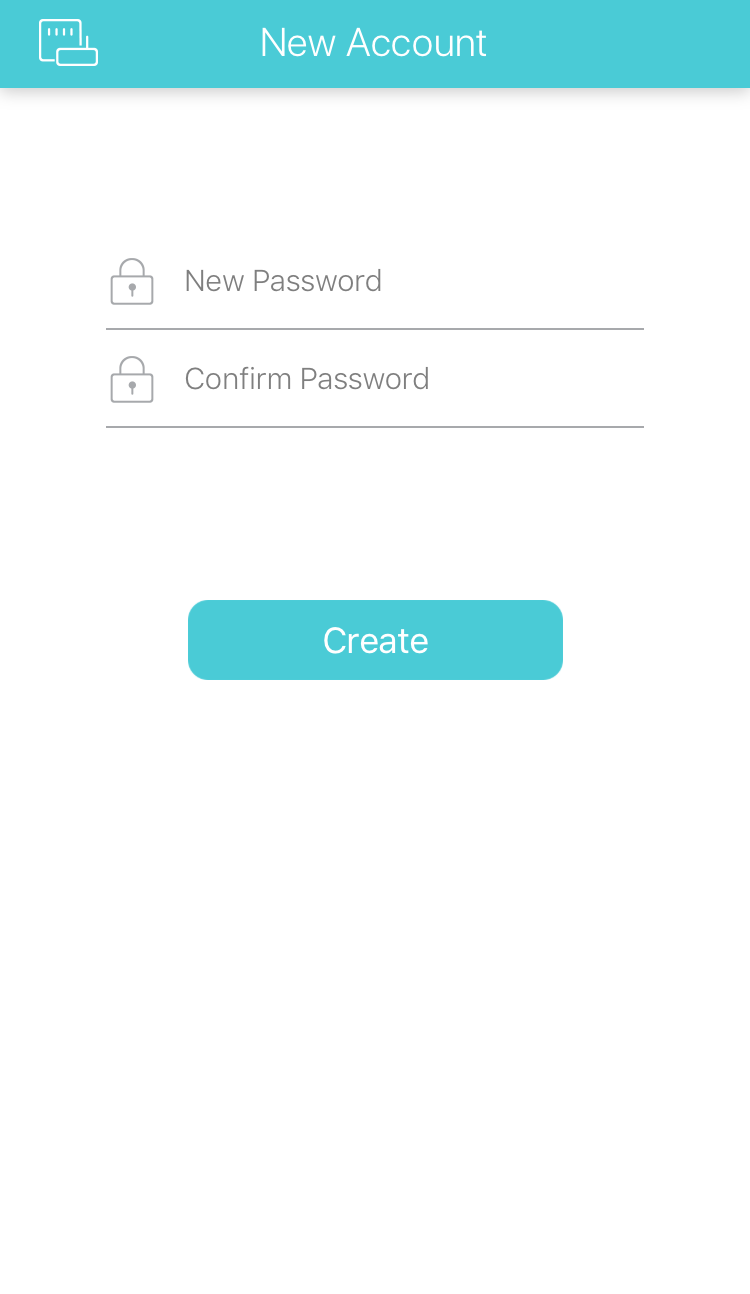
*Note: Default login credentials are admin/admin.
Step 5: Quick Setup should auto-launch. Choose your Internet Connection Type and tap “Next”.
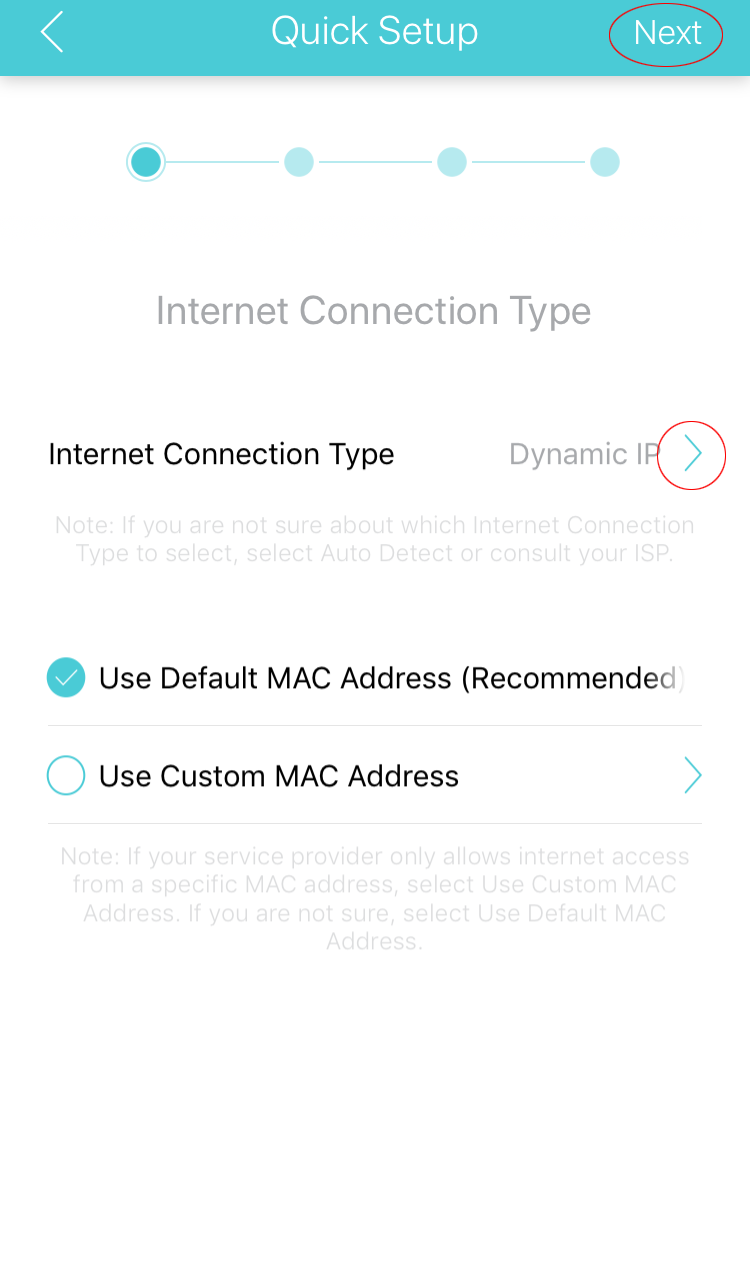
*Note: Check with your ISP if you are unsure which setting to use.
Step 6: If desired, change the Network Name and Password of your router, then tap “Next”.
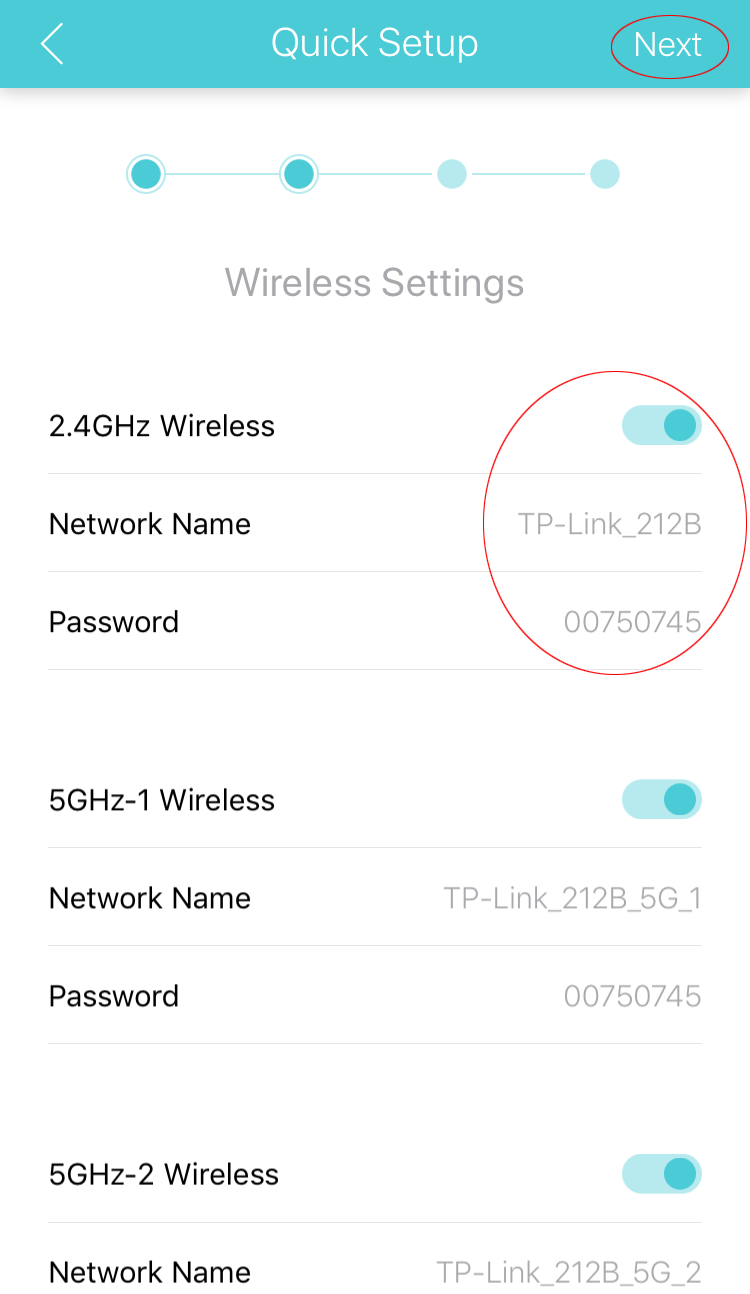
*Note: Repeat for each desired band before moving on.
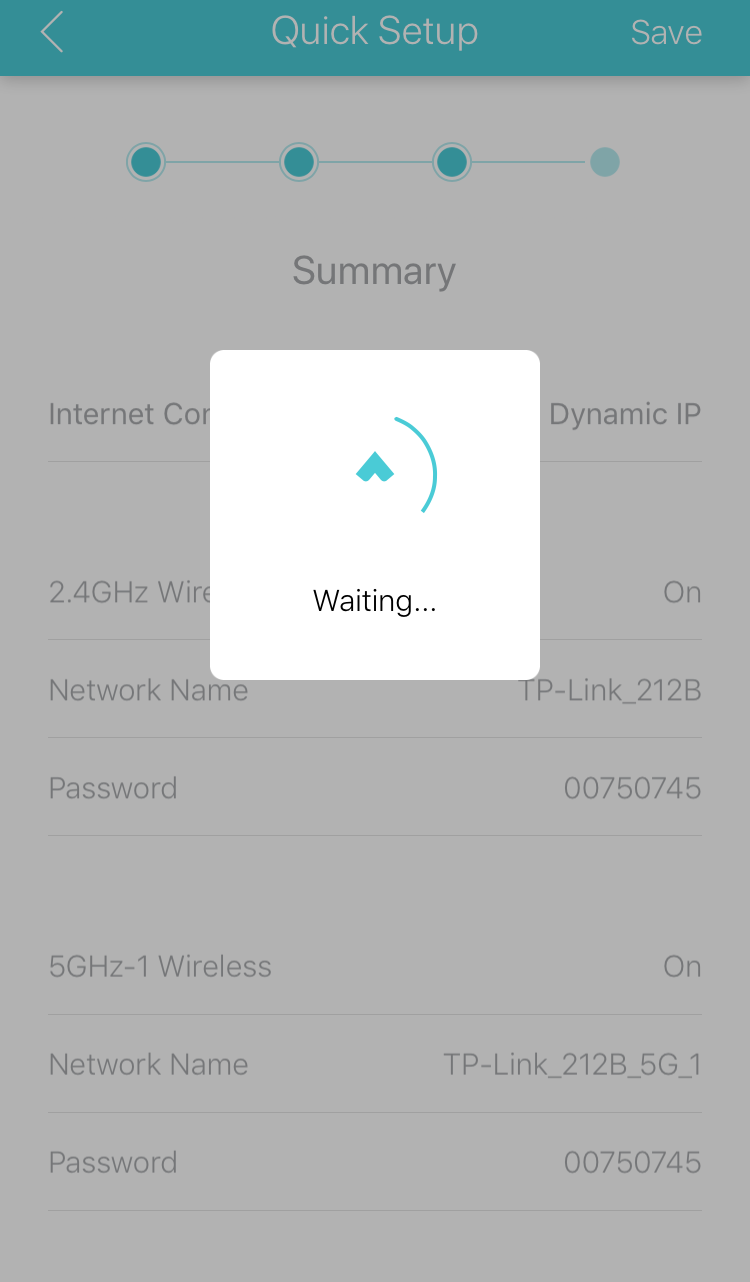
Step 7: Review and tap “Save”.

Step 8: Wait for it to complete the configuration.
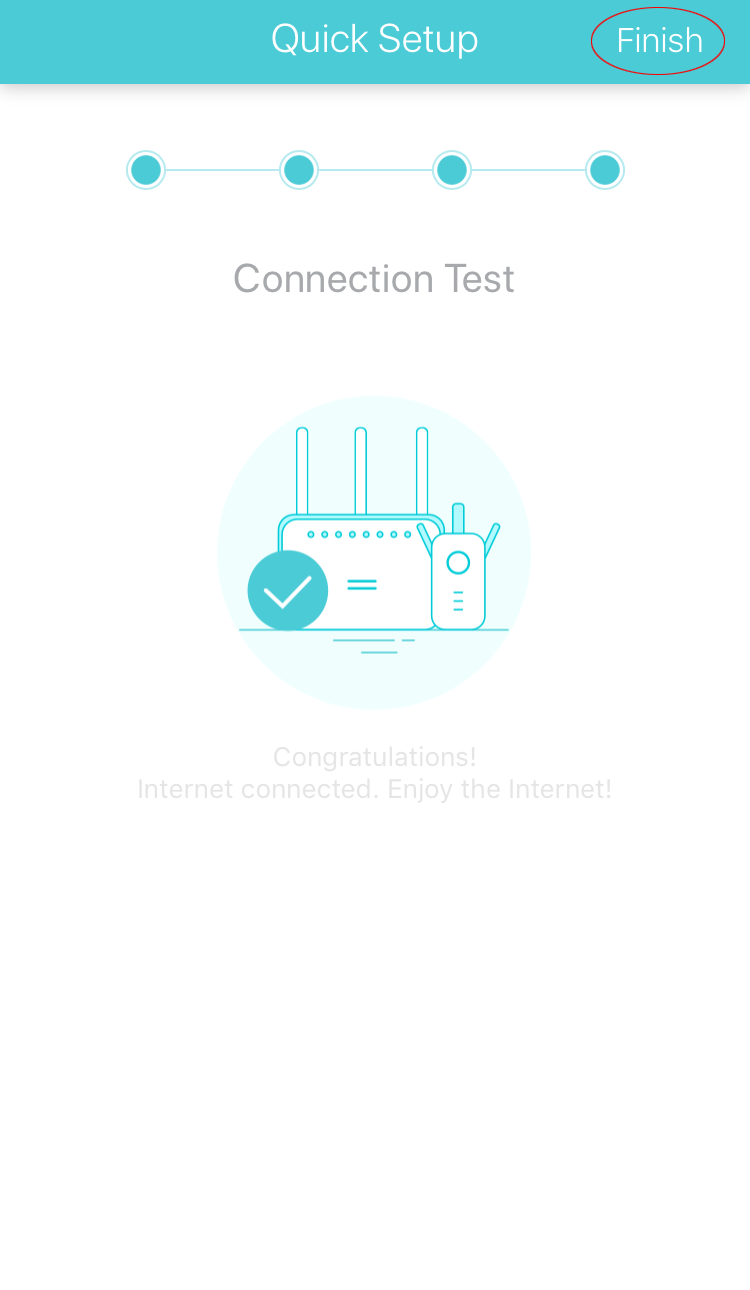
Step 9: Tap “Finished”.
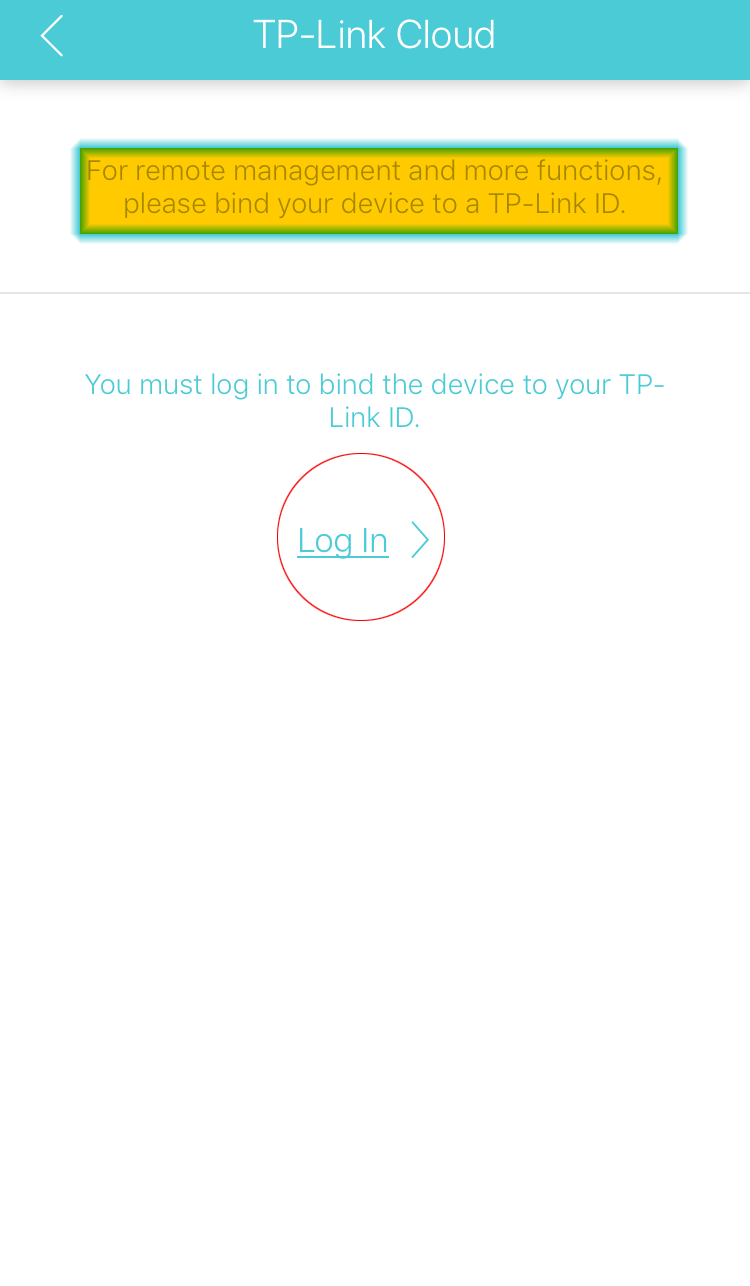
For Routers with TP-Link Could access:
Step 1: Tap “Log in”.
Step 2: Type in your TP-Link Cloud Credentials and tap “Log In”.
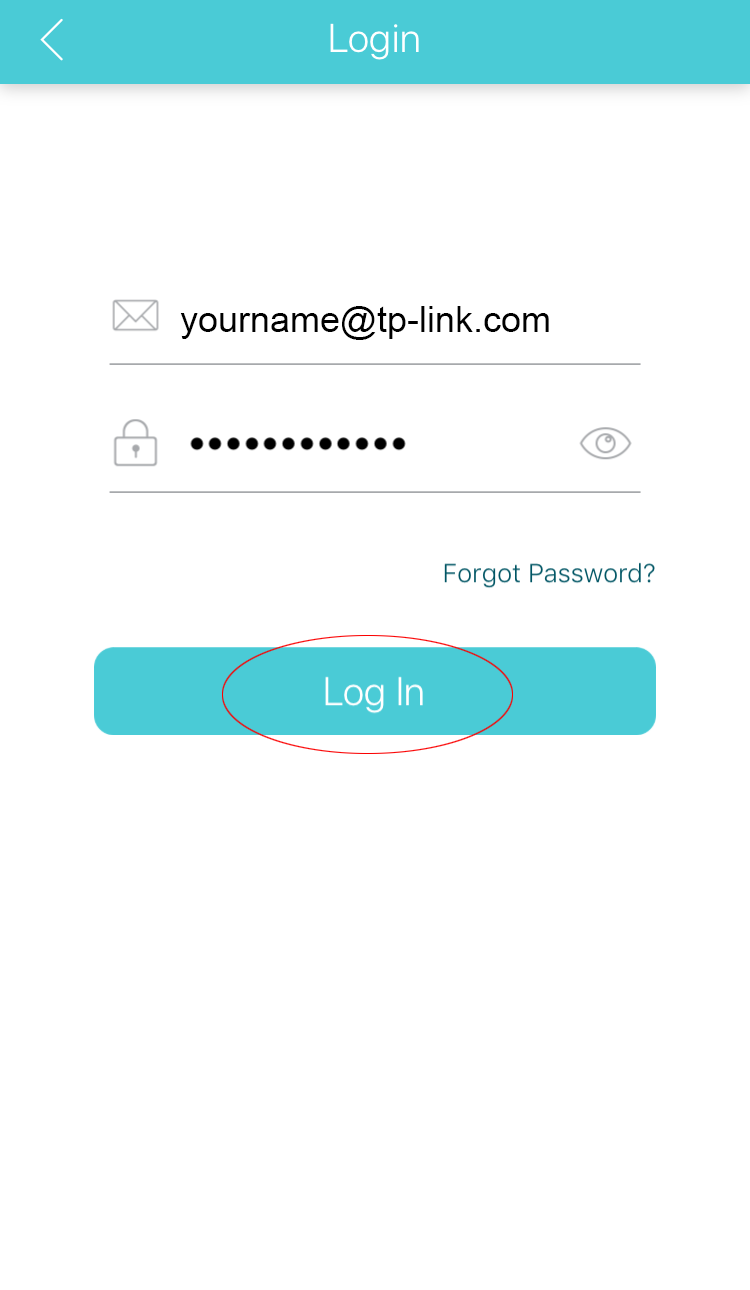
*Note: Click here if you do not have a TP-Link Cloud account.
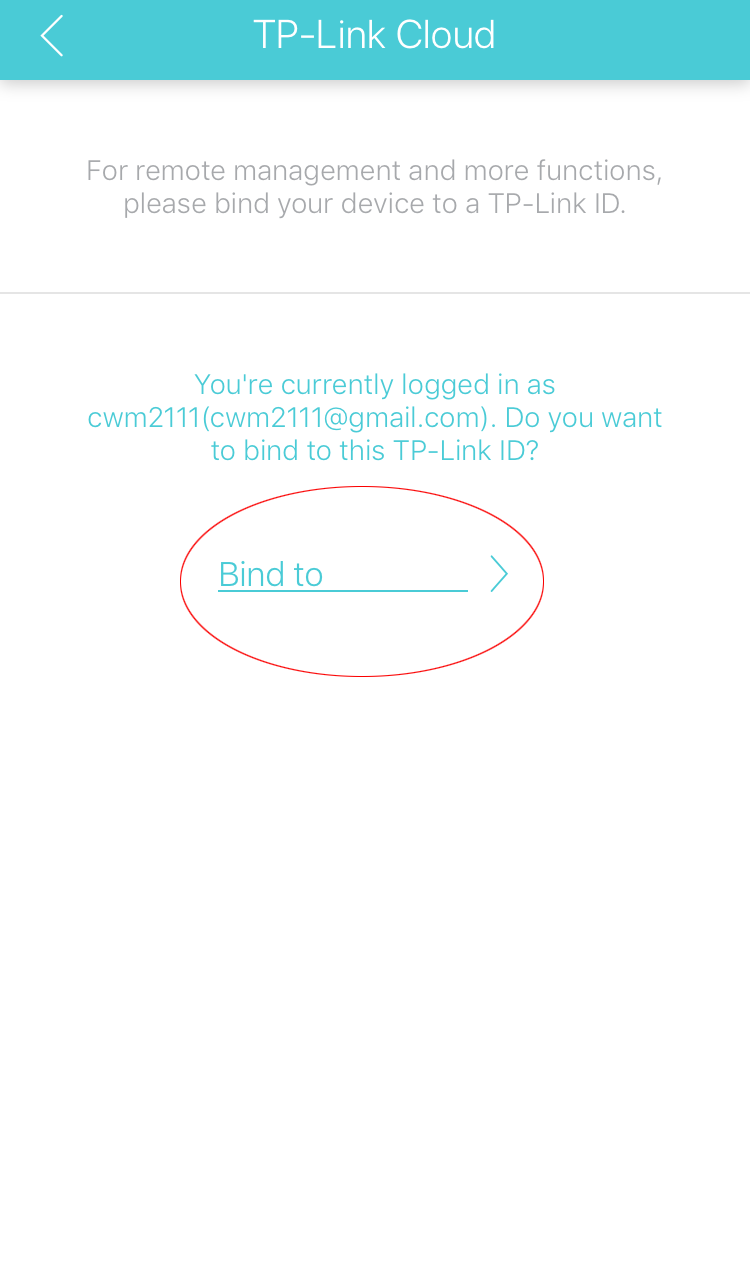
Step 3: Tap on “Bind to xxxx”.
Step 4: You should see a “Success!” message at the bottom of the screen.
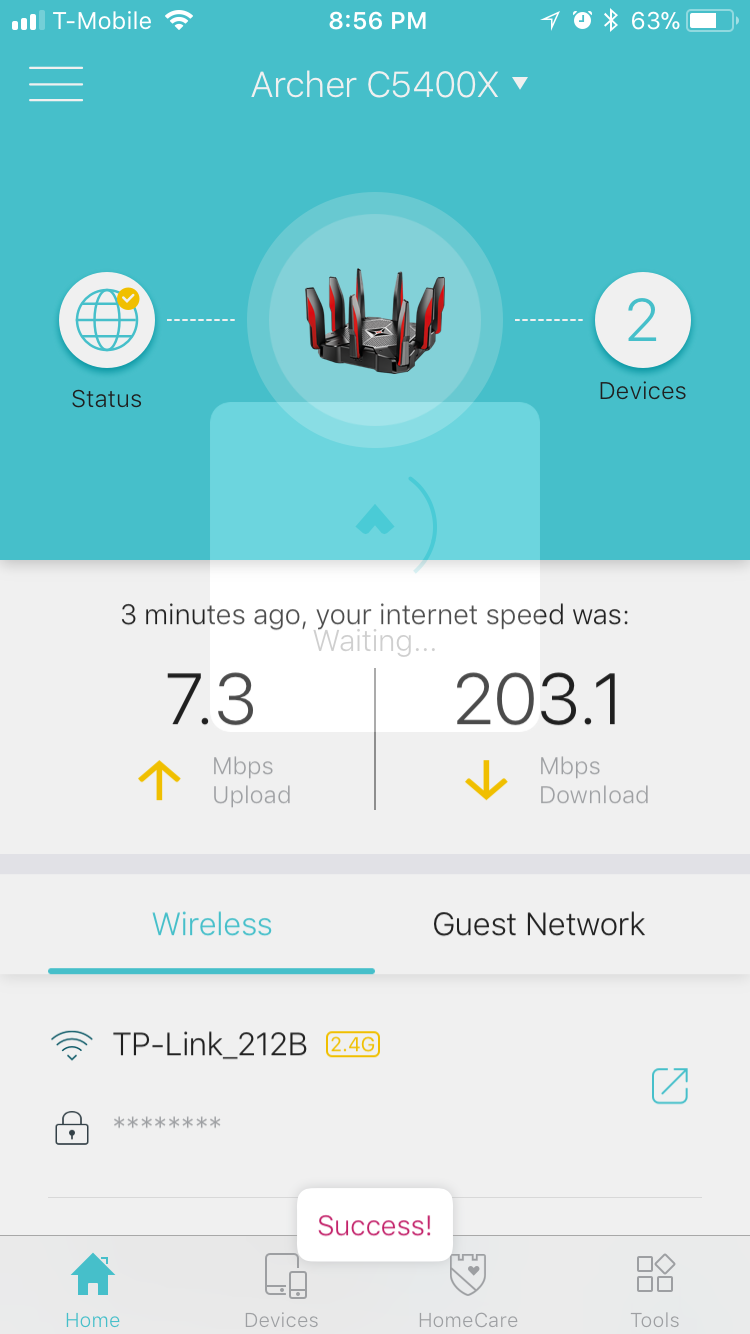
Once this process is complete, you will have cloud/remote access to your router via the Tether App.
If you need further assistance, please contact TP-Link Customer Support here.
Is this faq useful?
Your feedback helps improve this site.