Setting up the HomeCare QoS feature using the TP-Link Tether APP
This guide will walk you through the steps to setup QoS through TP-Link HomeCare services.
To know more about Homecare, please refer to Here.
*Note: Please connect to your router’s wireless network before following this guide.
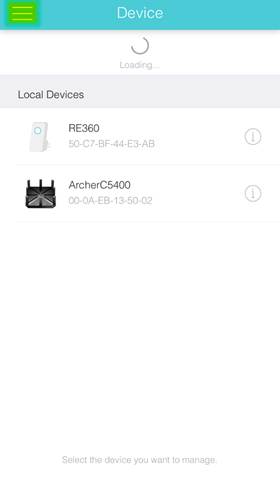
Step 1: Open the TP-Link Tether APP.

*Note: Tether V 2.10 or higher required to use HomeCare features.
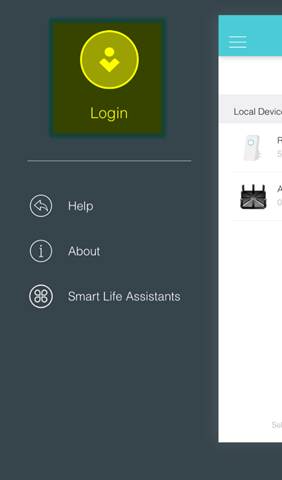
Step 2: in the upper left corner tap the “3-lines” button
Step 3: Tap on the icon that says “Login” below it.
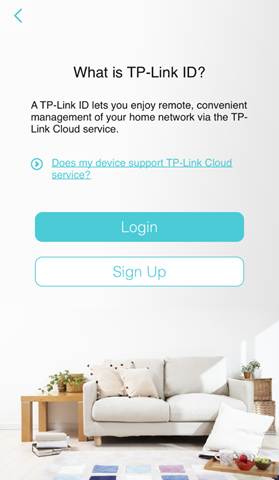
Step 4: Sign in to your TP-Link Cloud account or sign up if you do not yet have one. Click here if you need help setting up a TP-Link Cloud account.
 c
c
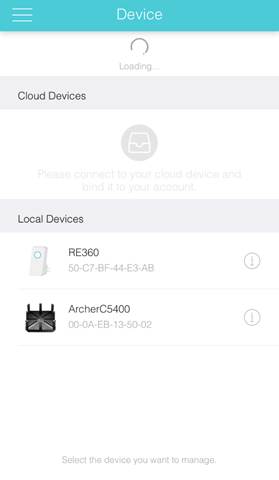
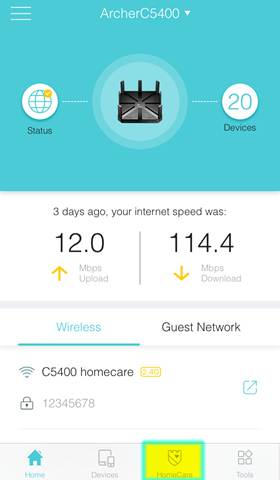
Step 5: Once Logged in, Tap the Icon for your router.
Step 6: Tap on “HomeCare” at the bottom of the screen.
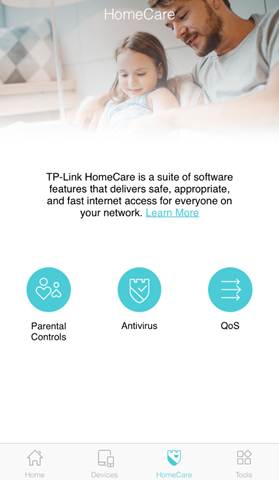
Step 7: Tap on “QoS”.
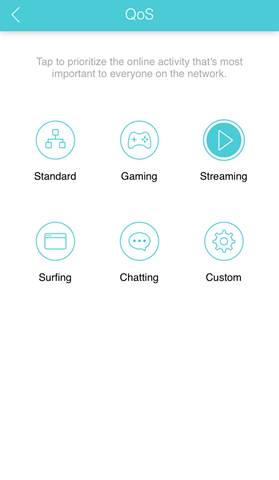
Step 8: Chose a preset filter or choose “Custom”.
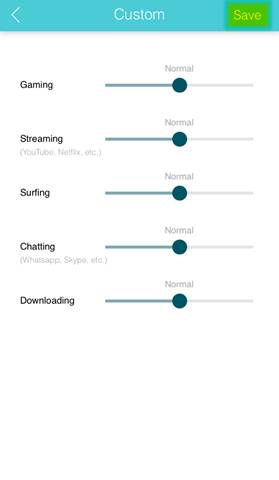
Step 9: If you chose “Custom” you can move the sliders to your desired levels then tap “Save”.
Is this faq useful?
Your feedback helps improve this site.