How to set up your HomeKit-supported Kasa devices
HomeKit-supported Kasa devices can be managed in the Home app and work with your other HomeKit compatible accessories. This guide will help you set up your HomeKit- supported Kasa devices.
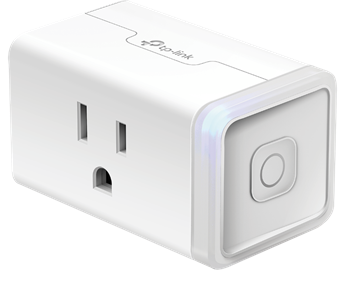
A Kasa smart plug is used as an example.
Note: Please first factory reset the device before the configuration.
How to factory reset the plug?
While the plug is powered up, press and hold the power button on the right panel of the plug for about 10 seconds until the LED flashes amber rapidly to factory reset the plug.
1. Open your Kasa Smart app, tap + on the upper right corner and select your device.


2. Power up your plug and check whether its LED blinks the color required.
If not, please factory reset your plug.


3. Tap Add to Home and add your device to home, and authorize Kasa to access your Home data so that you can control your device from the Home app.


(1) Tap I Need Help, then scroll down to find the sixth instruction ‘Set Up with Kasa’ and tap ‘set it up with Kasa manually’


(2) 10 minutes after your Kasa HomeKit-supported device is powered on, please go to your iPhone’s Settings -> WLAN to find the Wi-Fi of the Kasa device in OTHER NETWORKS. Make sure your iPhone is connected to the Kasa device’s Wi-Fi, then go back to Kasa to complete the setup.

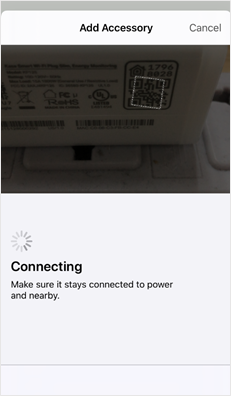
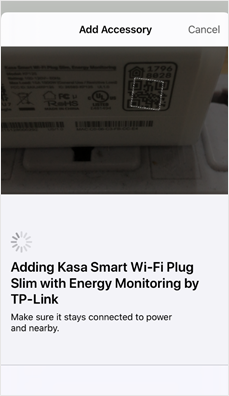
4. Scan the HomeKit QR code on your device. It will add your device automatically.
How can I find the HomeKit code?
Note: This is a necessary step required by Apple and can’t be bypassed.
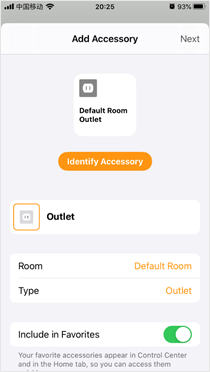
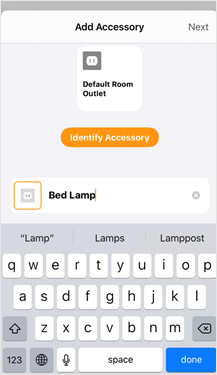
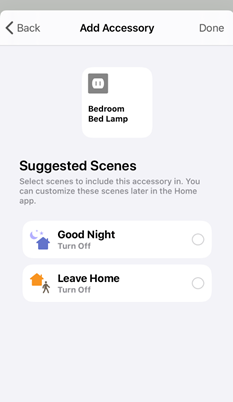
5. Your device is added to the Home app successfully. You can edit its name and choose which room it is in. Tap Next, you can set scenes. Then tap Done.

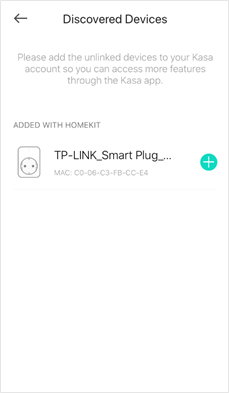
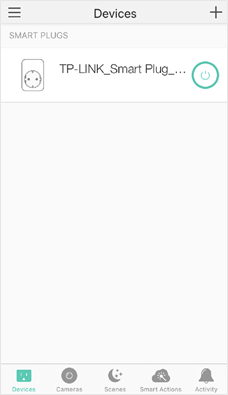
6. If you’d also like to control the device on the Kasa Smart app, you may open Kasa app, and the Kasa app will automatically discover the device, then please click on the "+" sign and the device will be added to Kasa app quickly.
Был ли этот FAQ полезен?
Ваш отзыв поможет нам улучшить работу сайта.
Сообщество TP-Link
Нужна помощь? Задавайте вопросы, находите ответы и обращайтесь за помощью к специалистам TP-Link и другим пользователям со всего мира.