How to Use the New TP-Link Wireless Configuration Utility to connect to network?
1. Installation.
Run the CD and choose the right adapter card to install. (Figure 1)
Your Anti-Virus software may block the normal installing process because of some related protect policy. Please quit the Anti-Virus software temporarily.
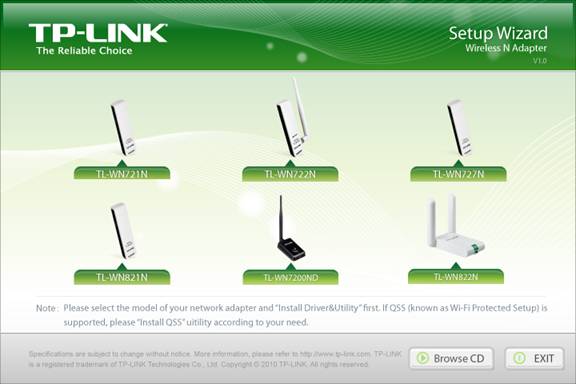
Figure 1
During installation, you may see Windows Warning message as below. (Figure 2) Please choose “Continue Anyway” to continue the installation.
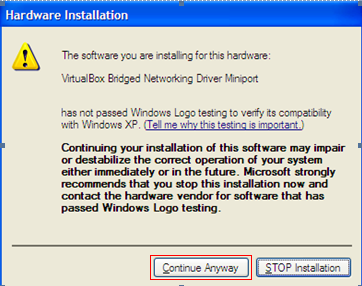
Figure 2
After successful installation, there will a short-cut on the desktop. See Figure 3.
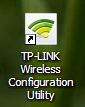
Figure 3
2. Connection
I. Double-click the short-cut to run TP-Link Wireless Configuration Utility.
In Network tab, you can see all available wireless networks. Click “Rescan” to refresh the list. (Figure 4)
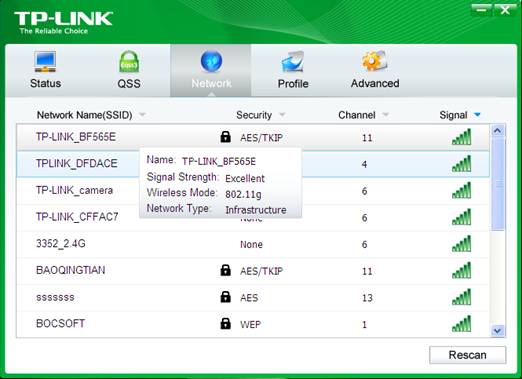
Figure 4
II. To connect to your network, please double-click on it or highlight it then click “connect” button. The Utility would automatically save the profile for auto-connection.
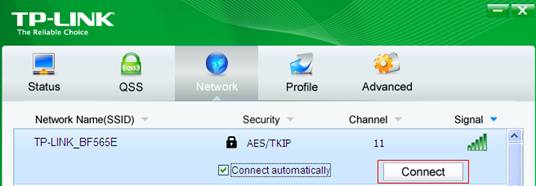
Figure 5
III. Type in your network password and click OK.
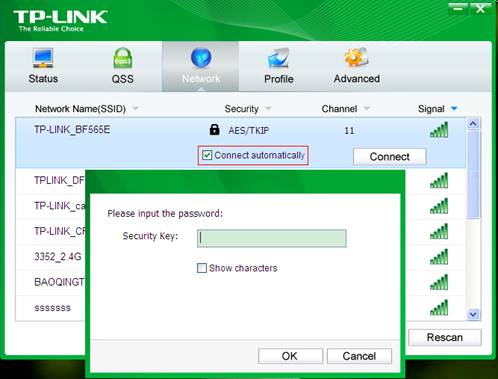
Figure 6
After successful connection, a green wireless symbol would be shown beside the Network Name (SSID).
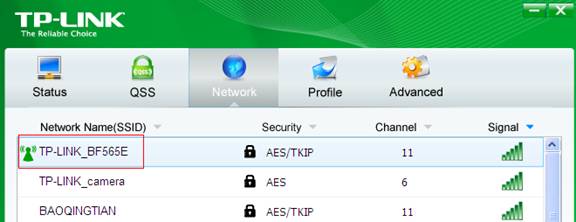
Figure 7
To disconnect the network, highlight it and click Disconnect.

Figure 8
Is this faq useful?
Your feedback helps improve this site.
Your feedback helps improve this site.