How to Setup Port Triggering on a TP-Link router (New Logo UI)
Configuration Guide
Actualizado06-27-2022 09:19:54 AM
106206
Este artículo se aplica a:
Archer C59 , Archer C1200 , Archer C5400 , Archer C58 , Archer AX55 , Archer AX4200 , Archer C3200 , Archer AX75 , Archer AX4400 , Archer AX53 , Archer C3000 , Archer AX73 , Archer AX51 , Archer AX96 , Archer AX4800 , Archer C1900 , Archer A2300 , Archer C8 , Archer AX10000 , Archer C3150 , Archer C9 , Archer A7 , Archer AX50 , Archer AX72 , Archer C6 , Archer C7 , Archer AX90 , Archer AX6000 , Archer C5400X , Archer A9 , Archer AX68 , Archer C2300 , Archer AX5300 , Archer AX23 , Archer AX20 , Archer C4000 , Archer AX21 , Archer C60 , Archer C2600 , Archer C2700 , Archer AX1800 , Archer AX1500 , Archer AX60 , Archer AX11000 , Archer AX3000 , Archer AX206
Port Triggering is a feature used to dynamically forward traffic on a certain port to a specific server on the local network.
Step 1: Log into the web interface of the router by browsing to 192.168.0.1 or tplinkwifi.net
Step 2: Log into the TP-Link Router (Default credentials are admin/admin)
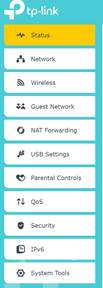
Step 3: Click on Advanced
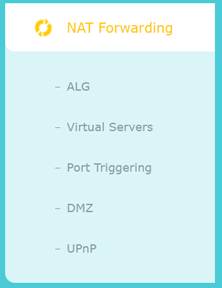
Step 4: Click on Nat Forwarding
Step 5: Click on Port Triggering
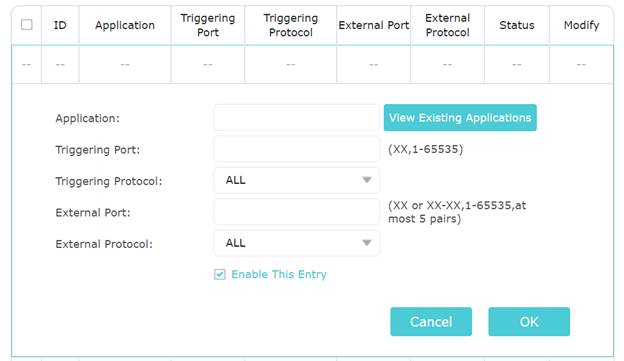
Step 6: Click ‘Add’
Step 7: Complete form or choose from existing applications and click ‘OK’
Step 8: Verify the service is showing and the status shows Enabled
Get to know more details of each function and configuration please go to Download Center to download the manual of your product.
¿Es útil esta pregunta frecuente?
Sus comentarios nos ayudan a mejorar este sitio.
Si
No
¿Cuál es tu preocupación con este artículo?
Insatisfecho con el producto Muy complicado Titulo confuso Eso no aplica a mi Demasiado vago Otro
Enviar
Gracias
Agradecemos sus comentarios. aquí para comunicarse con el soporte técnico de TP-Link.


