How to set up the Tapo camera
Follow the steps below to get started with your new camera. Here we take Tapo C200 as an example.
Step 1. Download the Tapo APP
Get the Tapo APP from the Apple APP Store or Google Play, or by scanning the QR code below.

Step 2. Log In
Open the app, and log in with your TP-Link ID. If you don't have an account, create one first.
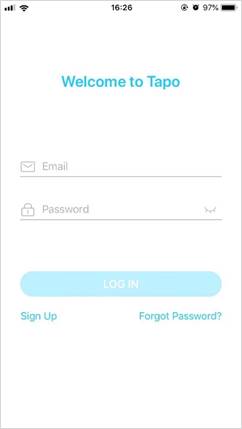
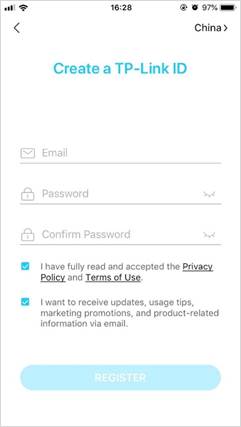
Step 3. Set up the camera
Follow the APP instructions to complete the setup.
Note: The location permission is needed to find and connect to your camera during the setup. Grant the location permission when prompted and you can disable it after the setup.
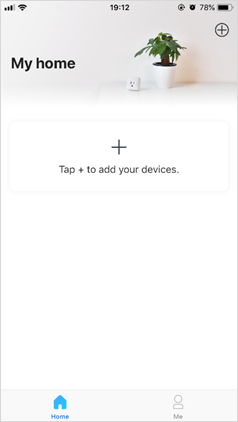
1. Tap the + button in the app and select Smart Camera C200.

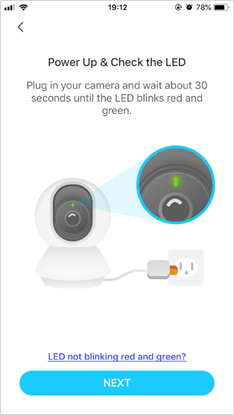
2. Plug in your camera and wait about 30 seconds until the LED blinks red and green. Click Next.
3. Go to your phone's Wi-Fi settings and join your camera’s network: Tapo_Cam_XXXX. Then return to this APP.
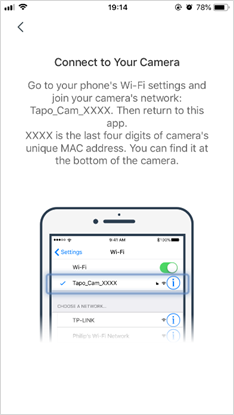
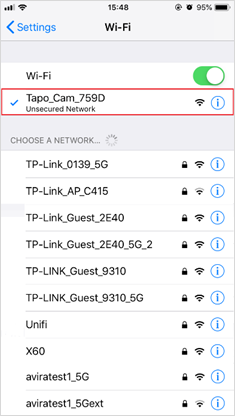
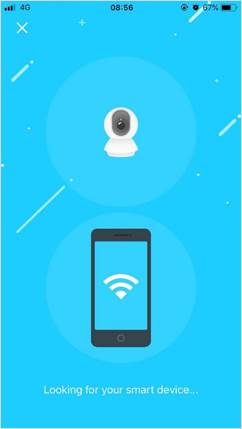
4. It will start searching for your camera. This may take a minute or two.

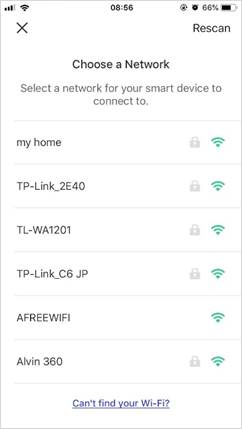
5. After the camera is found, connect the camera to your home Wi-Fi network and enter the password.
6. Click Join on the pop-up window, and it will start pairing your camera. Make sure the LED stays solid on during the paring.
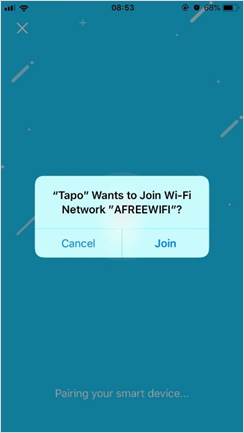
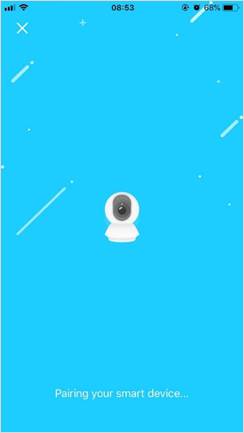
7. When the paring is complete, give your camera a unique name and set a location for easy identification. Click Next to complete the setup.
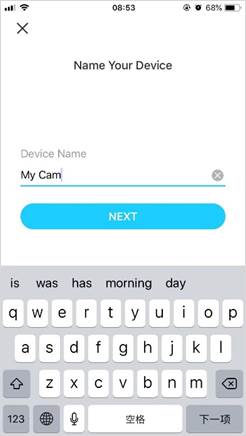
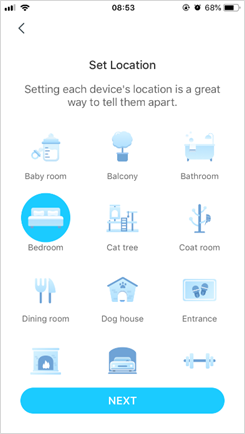
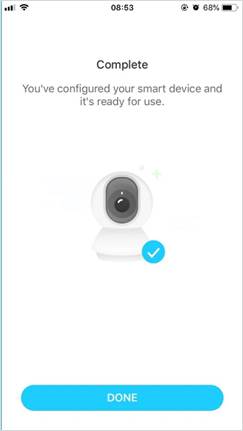
8. The “Complete” page means the camera is successfully added and tap Done to start using your camera.
1. Tap the + button in the app and select Smart Camera C200.


2. Plug in your camera and wait about 30 seconds until the LED blinks red and green. Click Next.

3. Grant the location access and allow the location permission to find and connect to your camera. You can disable it after the setup. Then it will start looking for your camera.


4. After the camera is found, connect the camera to your home Wi-Fi network and enter the password. Click Next.


5. It will start pairing your camera. Make sure the LED stays solid on during the paring.

6. When the paring is complete, give your camera a unique name and set a location for easy identification. Click Next to complete the setup.


7. The “Complete” page means the camera is successfully added and tap Done to start using your camera.
If it still failed, please refer to the troubleshooting: What should I do if I fail to configure Tapo Camera?
To get to know more details of each function and configuration please go to Download Center to download the manual of your product.
Is this faq useful?
Your feedback helps improve this site.